Being a stay at home mommy for some (like me) means learning to sacrifice and live frugally. However if you get good at it, the living frugally, you don't really realize or mind the sacrifices because firstly the time spent with your children is worth it. Secondly, you find ways of going about things that makes you proud of the items that you do have.
Because we are a one-income family we don't have many new furniture items. Most of everything we have has been given to us or has been picked up at garage sales and second-hand stores. Of course I don't think there is anything wrong with that, and it has allowed us to furnish our home cheaply. I am a bargain shopper, especially when it comes to new items, but if I can't afford something new I will find a way around buying it from the store.
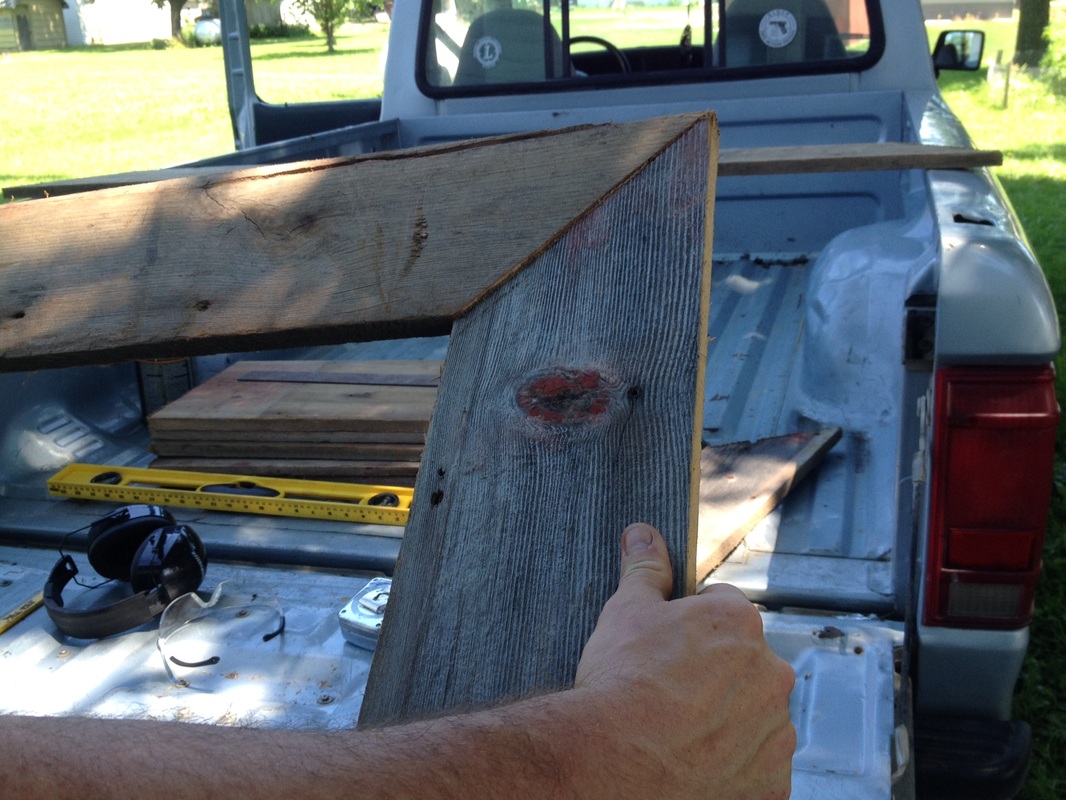
My husband and I will be celebrating our 8th wedding anniversary this year and in those 8 years we have never had a proper bedroom set. It is just something we decided we could live without until our children are grown and I return to the workforce. However my husbands parents were doing some cleaning and they got rid of a pile of old wood. My first thought was; OPPORTUNITY! I can always find things to make with wood so we sifted through the pile and found 4 large boards that were once barn siding. I knew that I would turn those barn boards into a headboard, something that I had decided I could live without but truly wanted. (By "I" I do mean my husband could turn those barn boards into a headboard while I supervise.)
We brought the boards home, gathered up some screws, the drill, and the circular saw and went to work. Here's what we did:
Because we are a one-income family we don't have many new furniture items. Most of everything we have has been given to us or has been picked up at garage sales and second-hand stores. Of course I don't think there is anything wrong with that, and it has allowed us to furnish our home cheaply. I am a bargain shopper, especially when it comes to new items, but if I can't afford something new I will find a way around buying it from the store.
My husband and I will be celebrating our 8th wedding anniversary this year and in those 8 years we have never had a proper bedroom set. It is just something we decided we could live without until our children are grown and I return to the workforce. However my husbands parents were doing some cleaning and they got rid of a pile of old wood. My first thought was; OPPORTUNITY! I can always find things to make with wood so we sifted through the pile and found 4 large boards that were once barn siding. I knew that I would turn those barn boards into a headboard, something that I had decided I could live without but truly wanted. (By "I" I do mean my husband could turn those barn boards into a headboard while I supervise.)
We brought the boards home, gathered up some screws, the drill, and the circular saw and went to work. Here's what we did:
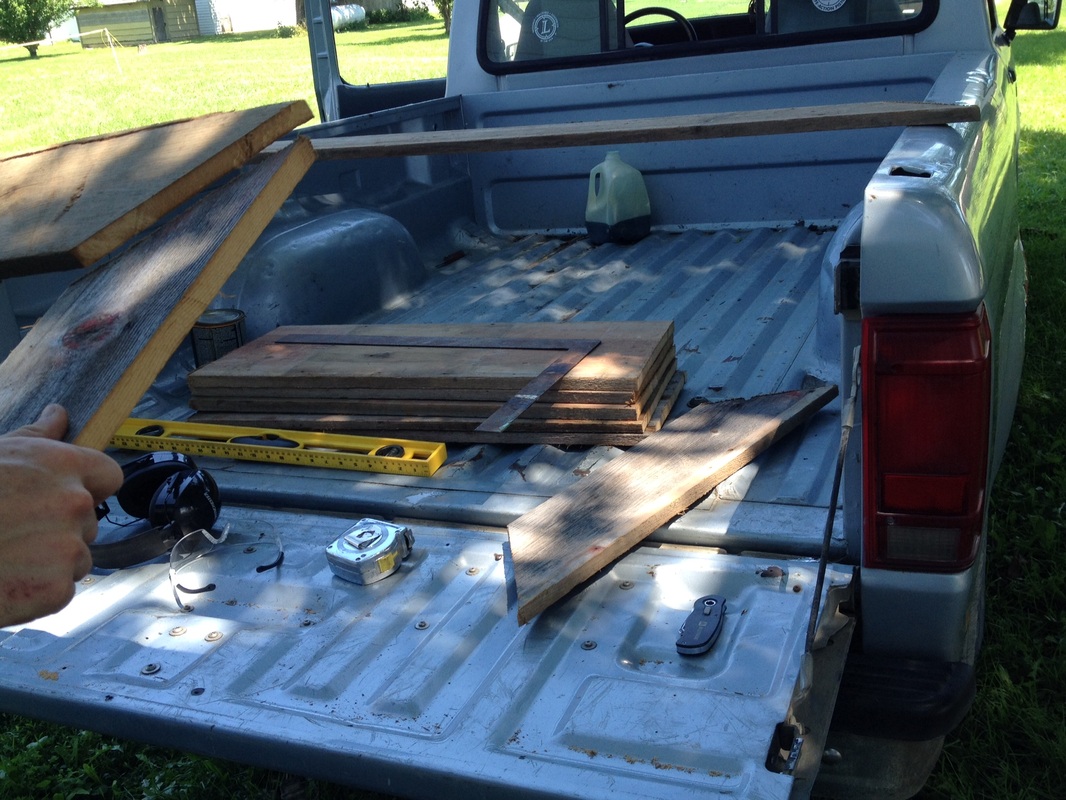 |  |
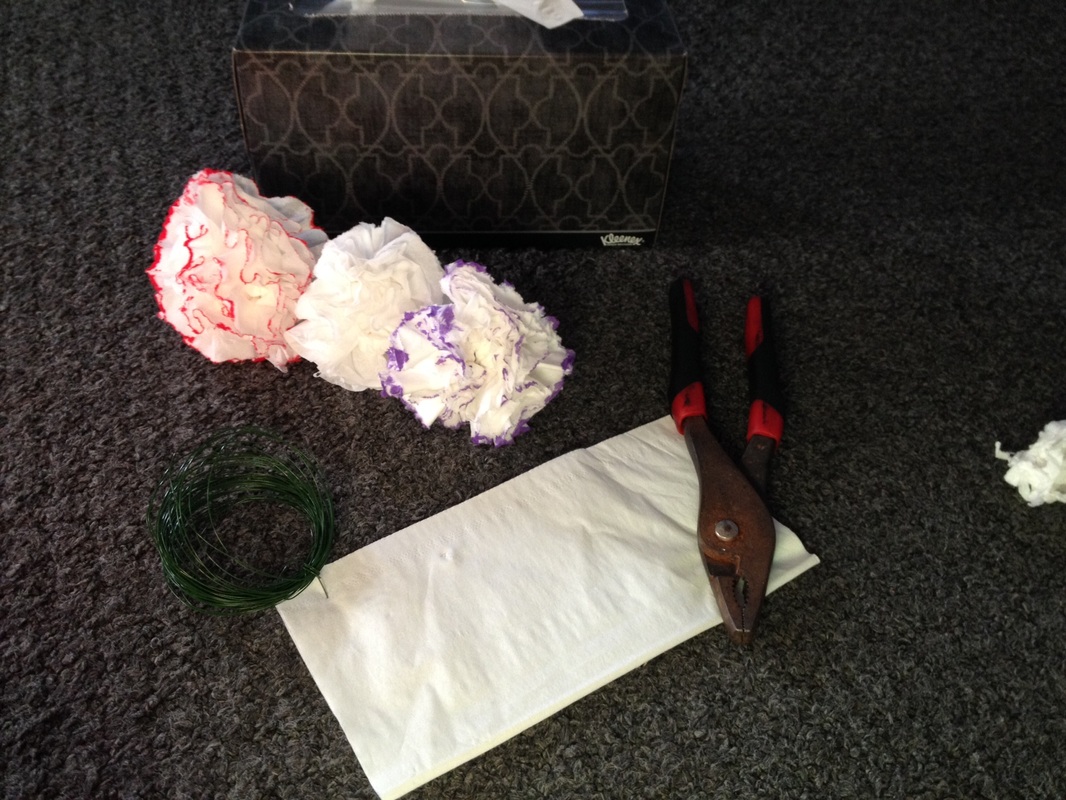
Tools we used:
Square
7 3/4" circular saw
Level
Measuring tape
Drill
2 1/2" screws
The bed of my husband's work truck and a saw horse.
We currently do not live in a house with a garage or much storage space therefore we make do with what we have.
First we measured how tall and wide we wanted our headboard for our queen size bed. We found 61 1/2" wide to be the perfect width and I wanted to top of the headboard to be 2 1/2' tall measuring from the mattress up the wall. We decided that we would build the legs on after we were finished with the actual headboard.
So... if you are planning to do the same and you have a queen size bed you can use our measurements; 61 1/2 inches wide x 2 1/2 feet tall.
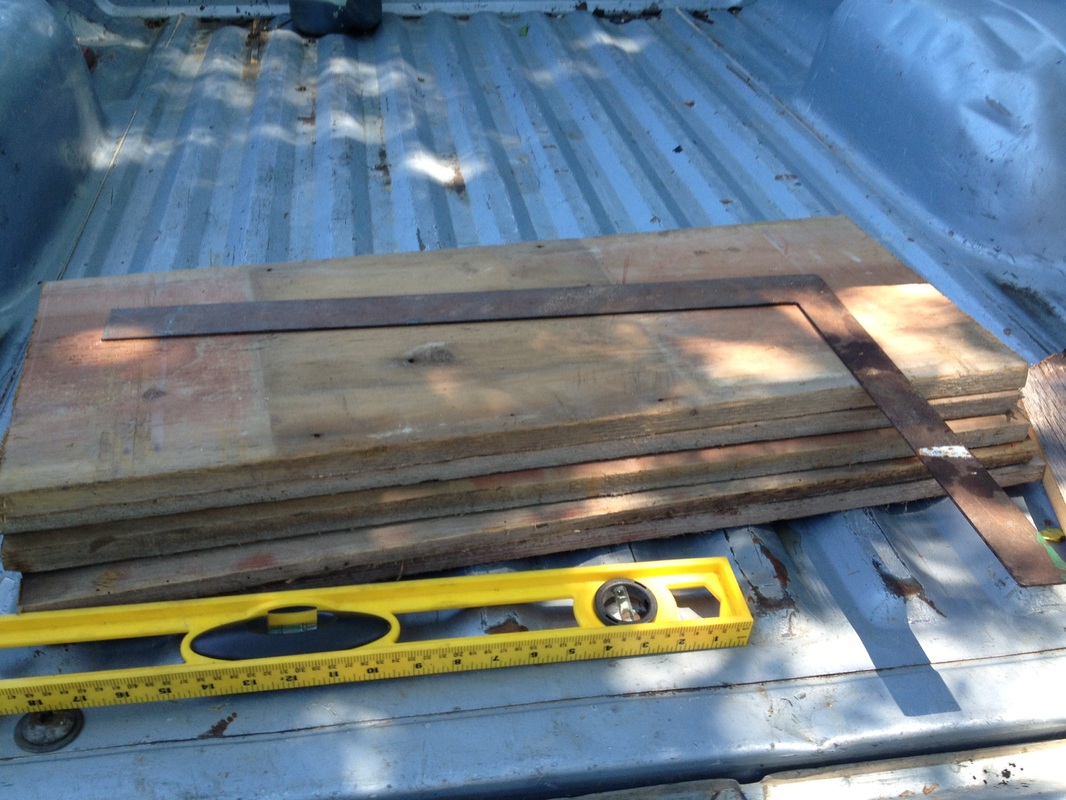
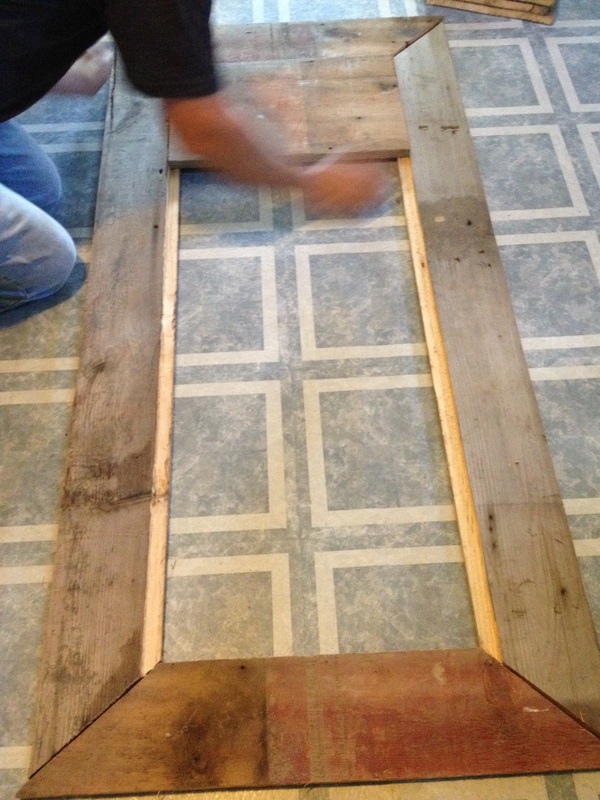
I wanted the headboard to be framed, however we do not own a compass or an angle therefore we (again) made do with what we had and figured out a way around using either of those tools. Instead we after cutting our boards we were using for the frame in half we laid the boards in a rectangle on top of one another and marked where they met their counterpart on the inside portion of the wood. We then took the level (we use it to make a straight line) and drew a straight line from the mark to the corner. That made our angle.

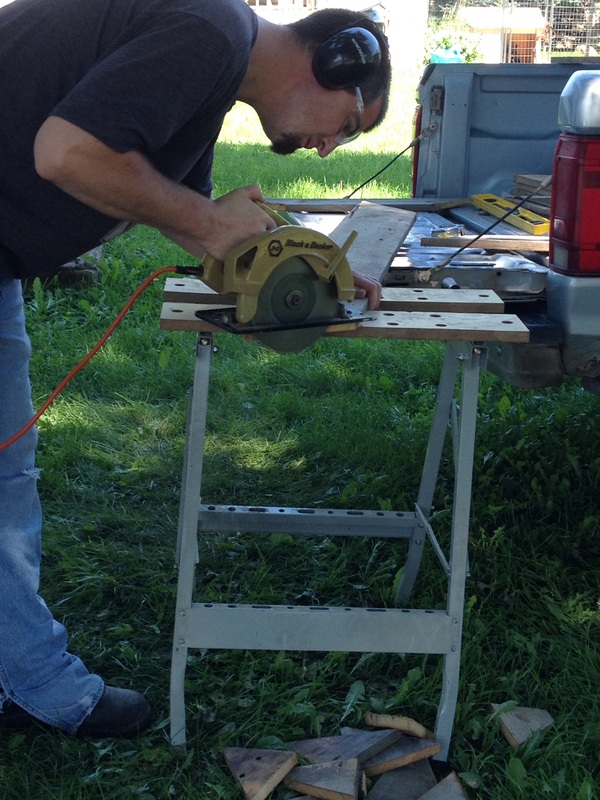
After we figured out our angles and cut the boards we laid it out together and decided the best way to put the boards that make up the inside would be to "mill out" an inch of the wood on the inside of the frame so that the inside boards would actually lay inside the frame. (Think about how a picture frame or a mirror frame is made.) We don't have a lot of tools so we decided to be brave and attempt to "mill out" the boards with our circular saw. Luckily my husband is very good with a circular saw and was capable of such a task. We then used my Dremel to sand down the "milled out" portion.
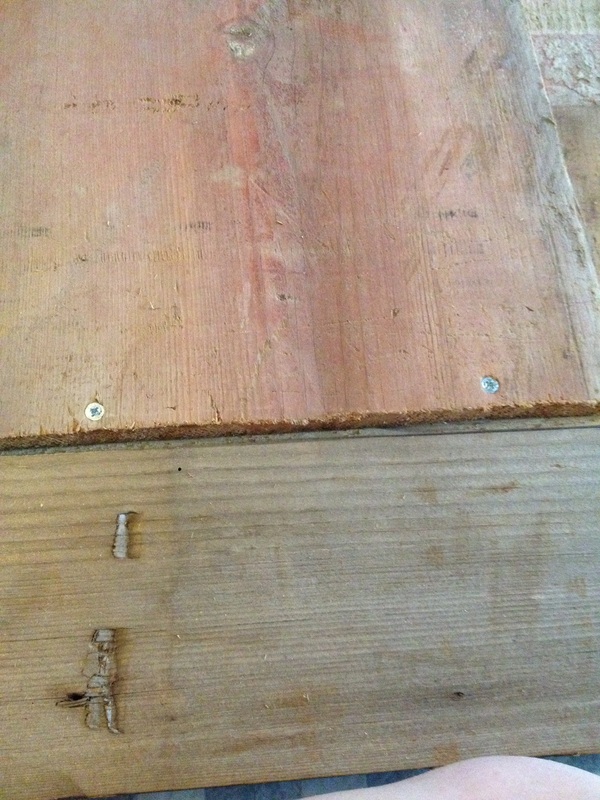 | 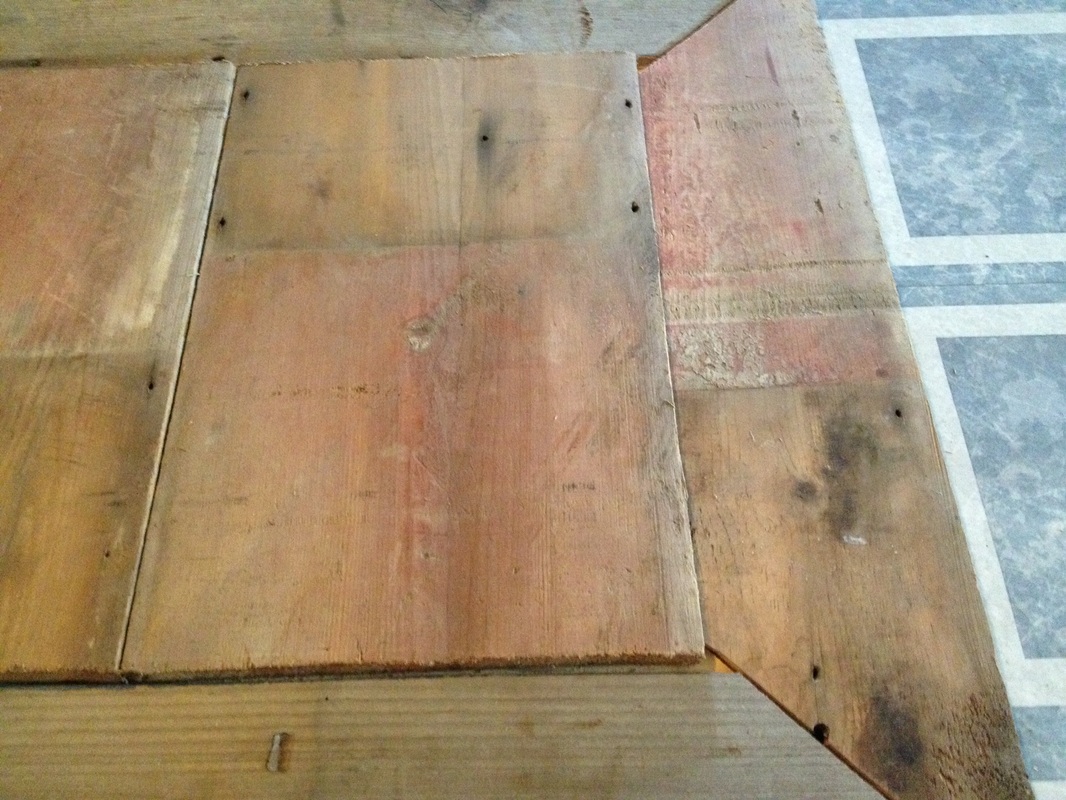  |
After we milled out the area where the inside boards would lay we measured those boards and cut them to size. They were exactly 19" long. However we did have to use one small portion on the end because the boards weren't quite long enough and left a 1" gap.
That completed the headboard construction so we moved onto the legs. My husband decided that using 2x4's would make the headboard to thick and it would look funny so we used 53" pallet planks instead. I was worried they wouldn't be strong enough, but they have withstood and held up the weight of the headboard wonderfully.
That completed the headboard construction so we moved onto the legs. My husband decided that using 2x4's would make the headboard to thick and it would look funny so we used 53" pallet planks instead. I was worried they wouldn't be strong enough, but they have withstood and held up the weight of the headboard wonderfully.
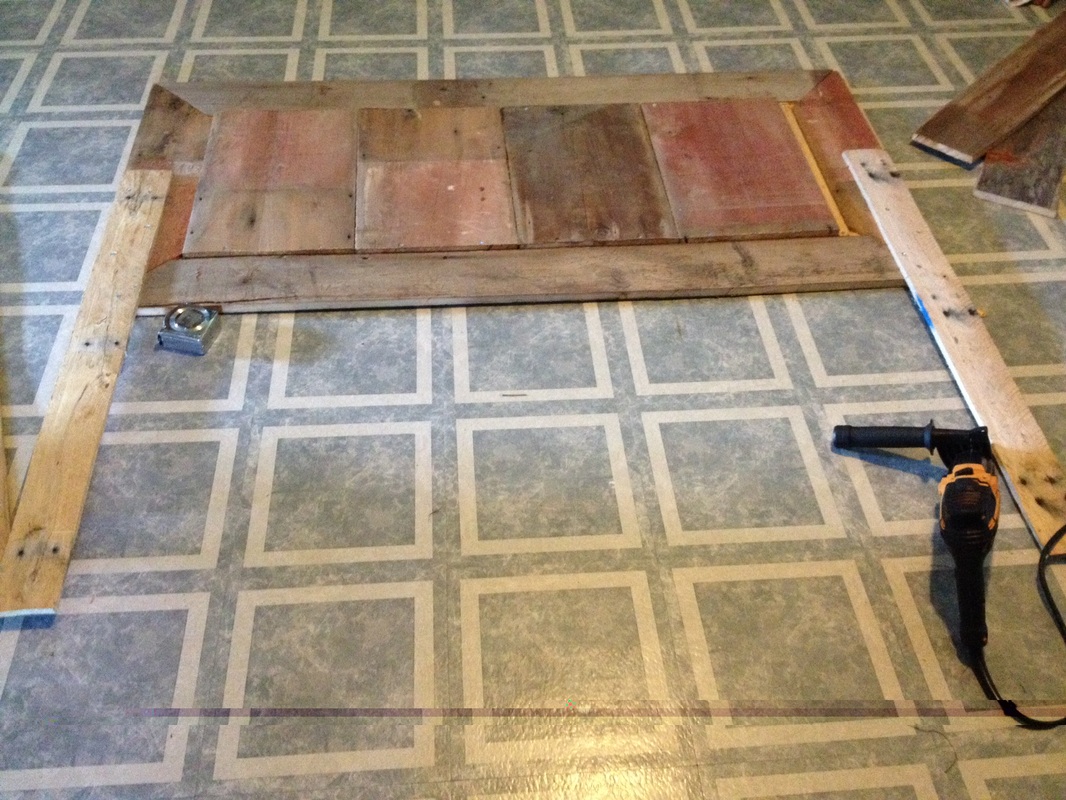
Yes, that is our dining room floor. We don't have a garage and we needed a flat, dry space to lay out the headboard so we had to come inside.
After the construction of the headboard was finished I was finally able to be of some use. My husband absolutely hates painting and I love it; so I got my brushes and my paint out and went to town.
I really liked the way it looked with just the raw wood, but it didn't match our bedroom very well so I decided to slap some paint on it.
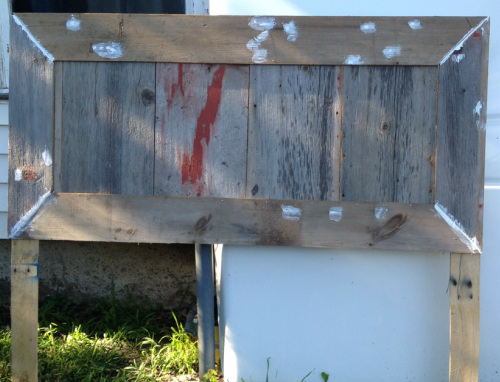
The first step was to use latex caulking and fill in the holes. After I filled the holes and allowed the caulking to dry I sanded it down so it was smooth.
The first step was to use latex caulking and fill in the holes. After I filled the holes and allowed the caulking to dry I sanded it down so it was smooth.
I decided to paint the frame black and the inside white. This is after the first coat of paint.

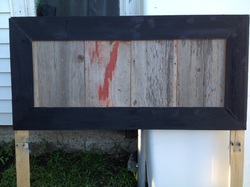
...and this is after 3 coats of black and one coat of white. I really liked the way leaving only one coat of white allowed some of the wood's texture to show through so I settled on leaving it this way.
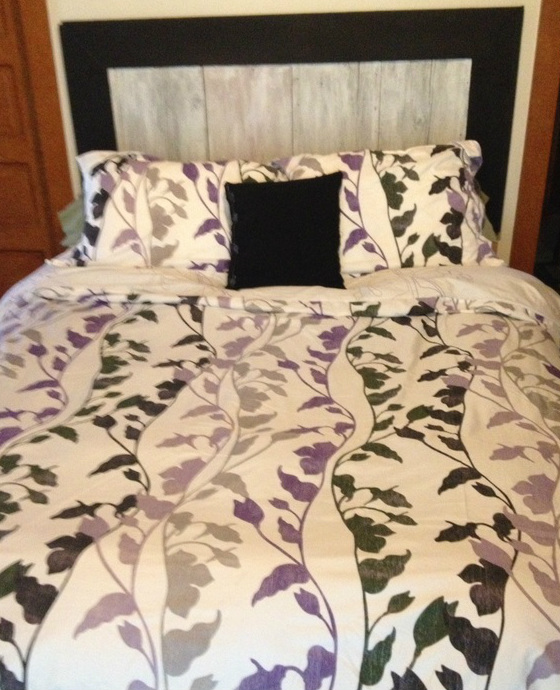
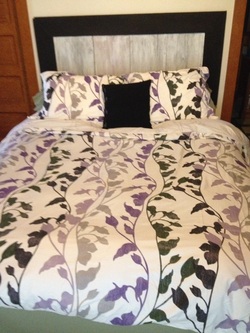
This is what it looks like now that it is all finished and put on my bed. I absolutely love it, and the best part is that not only was it free for me to make because I had everything on hand but it also allowed my husband and I to spend some quality time making something together.
By the way; my comforter is actually a duvet that I purchased for less than $15 on Amazon and it came with the pillow shams. The black accent pillow is actually my old accent pillow that I made a case for (again for free because I had the fabric and buttons on hand.) Therefore the total cost to make-over my bed: Less than $15! (I've included the link below for the duvet just in case ;)
By the way; my comforter is actually a duvet that I purchased for less than $15 on Amazon and it came with the pillow shams. The black accent pillow is actually my old accent pillow that I made a case for (again for free because I had the fabric and buttons on hand.) Therefore the total cost to make-over my bed: Less than $15! (I've included the link below for the duvet just in case ;)